
 |
| 'Arctic Skies' 5x7 pastel ©Karen Margulis available $50 |
I have a solution!
Make Tape Hinges with white artist tape!
 |
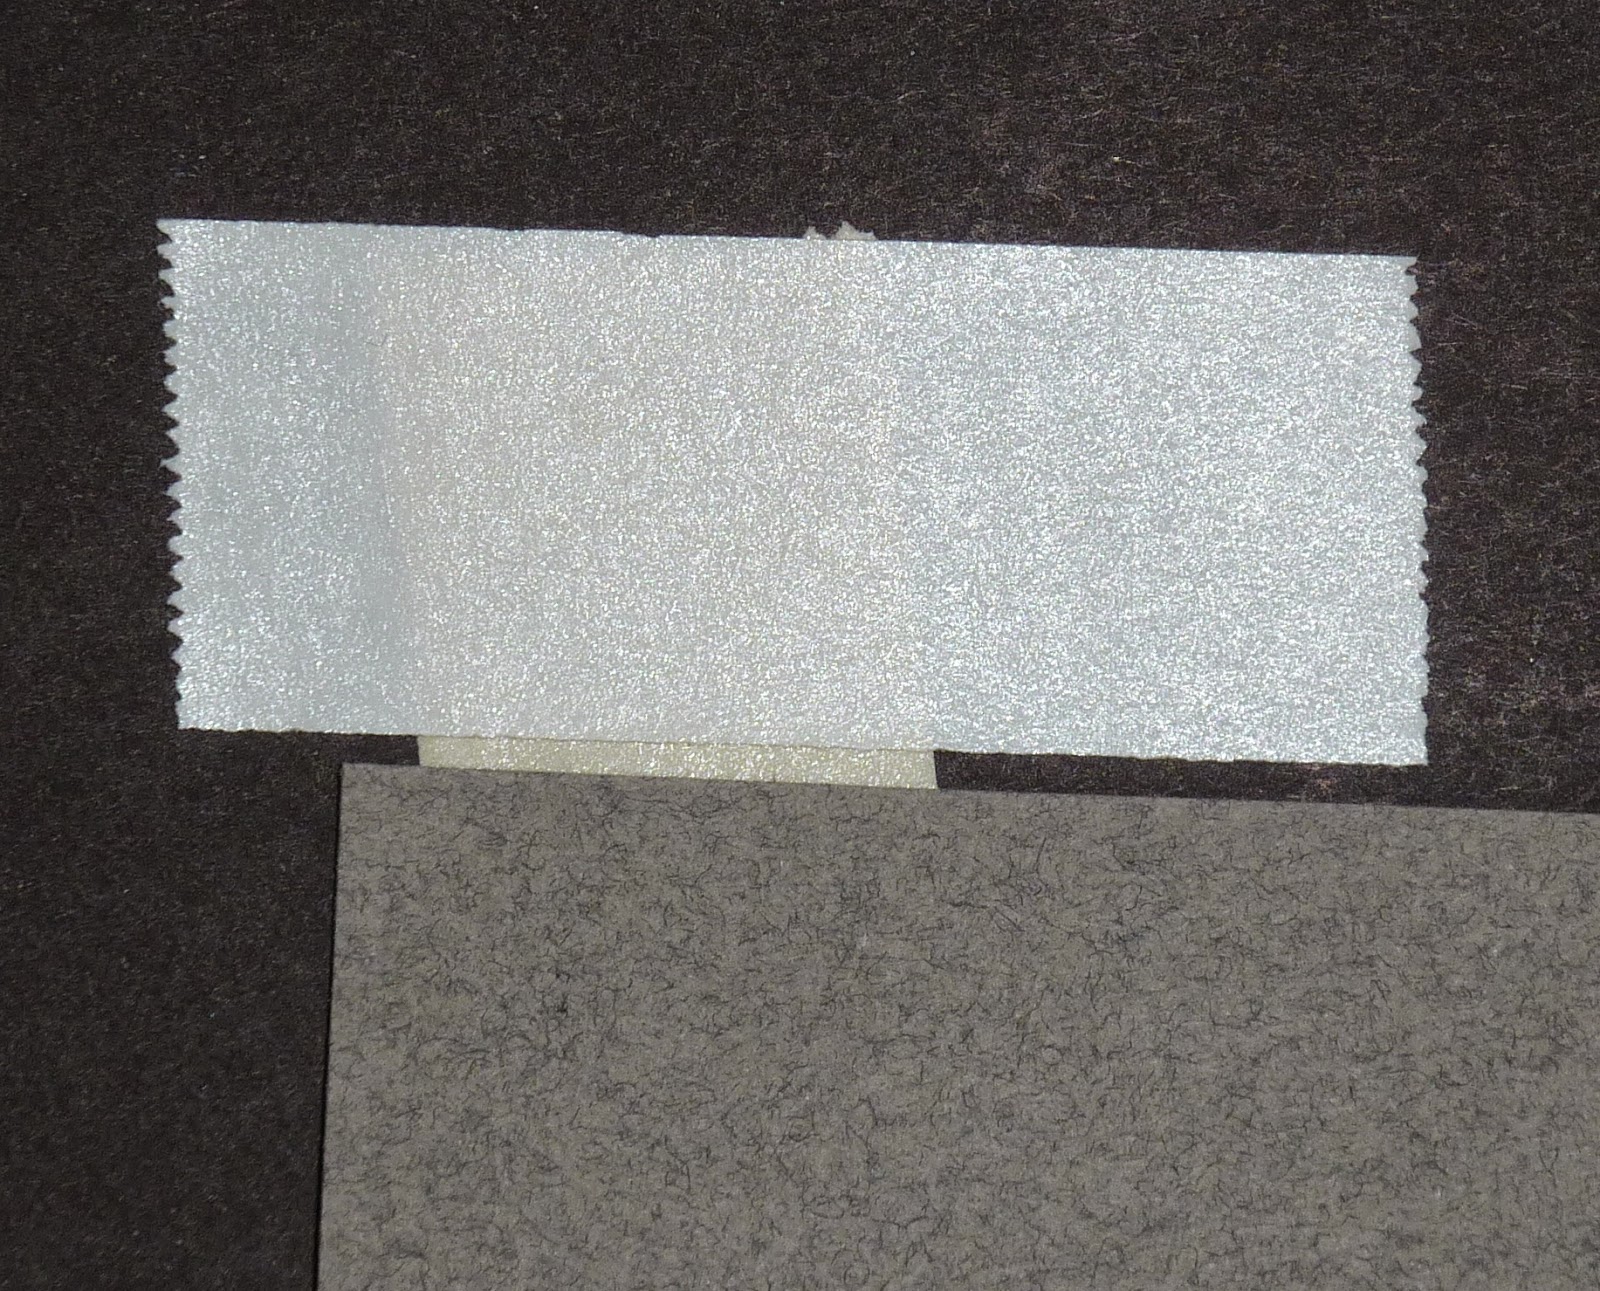
| A roll of white artist tape on a dispenser (a must have tool!) |
Why not blue painter's tape or long strips of tape? I avoid using any color tape other than white. I also avoid taping the paper down on all four sides using strips of tape. Long strips of colored tape are especially dangerous. Why? Colored tape will effect how the colors and values in your painting are perceived.
We know that colors change the way they appear when another color is places next to it. A color may be considered cool until we put an even cooler color next to it.....all of the sudden the first color seems warmer. So if you have bright blue tape or manilla masking tape all around your painting....these colors effect how the colors you put in your painting appear. It may be subtle but it is there! White tape prevents this potential influence.
Not only does colored tape effect the painting....long strips aren't really needed to secure the painting. Have a look at making simple tape hinges:

STEP ONE: Tear a piece of white artist tape measuring about two inches long. I use tape that is 3/4 wide. Place the tape on the back of the paper with about an inch of the STICKY side facing out (towards you). I place a piece of tape on all four corners. I will sometimes add a piece of tape to the sides especially if I am going to do a wet underpainting.
STEP TWO: Tear another two inch piece of tape and place it over the sticky side of the corner tape. Voila! A hinge is made. Do the same thing for all four corners.

The beauty of making tape hinges is the economy. I can easily peel the finished painting from the tape hinges and reuse the same board with tape in place. I can usually use the same tape for 2-3 paintings. Once it loses it stickiness I throw it away and start fresh.
Hinges also allow the entire paper to be exposed. Taping the corners down leave you with unfinished corners to deal with. Making rolls of tape stuck to the back of the painting might create bumps in the painting. Hinges prevent these problems!
Disclaimer: This is my preferred method. I know many artists who do things differently and with great success. This is just another way. Some artists like to use long strips of tape to mask their painting and create a clean edge. This is what works for me!
3 comments:
Excellent!! Thanks for sharing! KittyAnn in NC
Karen, i have been using the blue tape,shame on me..Also i purchased a couple of Elmers brand foam core boards. I notice when i tape to it, there is a paper like covering that peels off when i remove the tape. Does the white painters tape come off clean?.I was thinking of putting a layer of spray varnish so the tape wont stick and ruin the board...any thoughts?..
Tim,
I don't have any trouble with the white artists tape taking the paper off the foamcore. BUT I do peel off the tape carefully!
Post a Comment