
 |
| 'Summer Dreaming' 5x7 monotype with pastel ©KarenMargulis available for purchase $40 paypal here |
In today's post I will show you how easy it is to make monotypes with supplies you probably have on hand. The great thing about monotypes is that you can make one of a kind prints without having to but expensive materials or a printing press. Since pastel is my primary medium I am fascinated by the possibilities of adding pastels to a finished print. In this way my print serves as my underpainting. If you haven't tried doing a monotype read on to see how simple it is.
 |
| Monotype supplies (from bottom left) Brayer, black oil paint,old brush, drawing tools, paper, wooden spoon |

Ink your plate. I am using water soluble black oil paint. My plate is a 5x7 piece of glass from on old picture frame. I taped the edges for safety. I am applying the paint with an old brush. The brushstrokes will show in the print so if you want a smoother look then you will want to use a brayer.

Create your image. You can either ink the whole plate and then draw into and remove the paint with tools (subtractive method) or you can paint the image directly on the plate (additive) or use a combination of both. I used the subtractive method here. I used tools I found around the house...bamboo skewers,q-tips,rags,palette knives.

STEP THREE
When you are finished with your image it is time to pull a print. I did a hand transfer by placing the paper on top of the plate and rubbing the paper with the back of a wooden spoon. You can either do a dry or a wet transfer. If your ink or paint is still wet, the paper you print to can be dry. If the paint had dried you will need to dampen your paper before printing. I mist the paper with water and blot it with blotting paper. I worked fast enough to do a dry transfer

Here I am pulling the print. This is the moment of truth....the most exciting part for me. If there is still enough ink or paint on the plate you can try to pull a second print which is called a ghost print since it will be fainter. Ghost prints make great underpaintings for pastels!
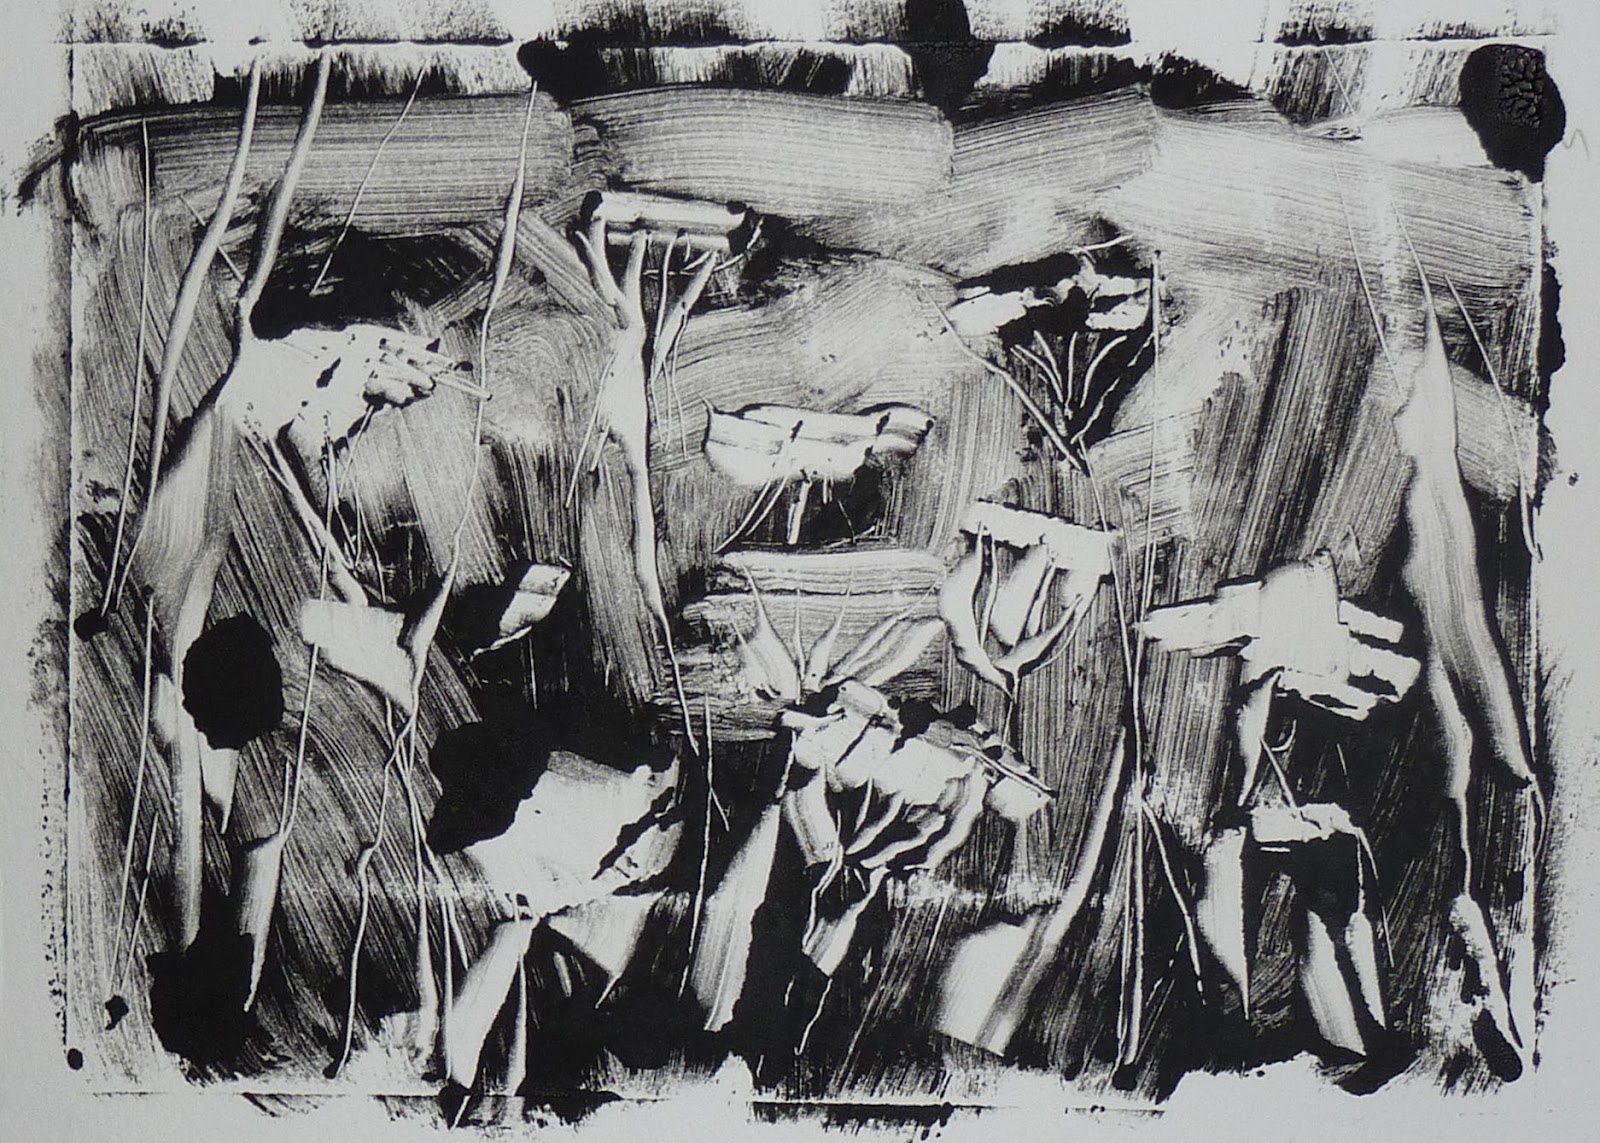
This is my finished print. I decided to add color with pastel for the finished piece at the top of the page. The monotype process is simple and a bit addictive. It takes some practice to get the effects you want. That is part of the fun. I love the mystery and the element of surprise that comes with the monotype process. I think I will go try some more! Let me know if you have tried doing monotypes and what you think of it!
3 comments:
Interesting post. Thank you for the mini lesson.
It looks like fun and I may try it.
Karen you have so much energy! Thank you for posting this. I really want to do it but am not able to really work on stuff because we are having our bathrooms remodeled, and there is mess everywhere! I will do it someday!
Thanks Teri! I know what you are going through....did some remodeling last summer. Save the monotypes for when you get finished!
Post a Comment