 |
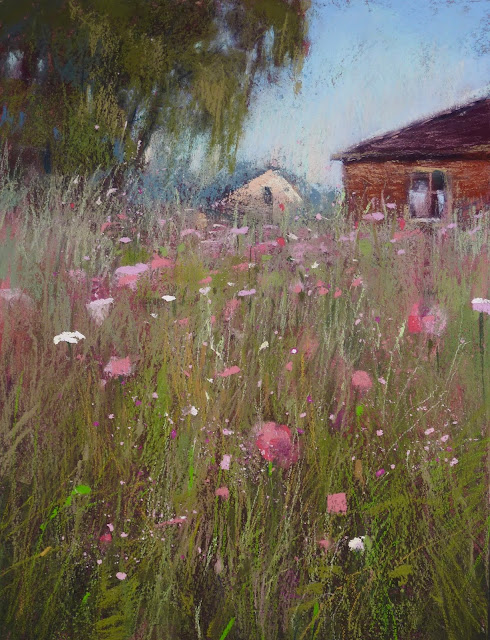
| 'Summertime in the Shade' 12x9 pastel ©Karen Margulis available $175 |
Foregrounds can be a nightmare. How much information is enough? How much is too much? How can we make it interesting yet not too important? How do we paint those pesky grasses in a landscape foreground? How do we paint a foreground that looks natural and expressive rather than something a preschool child made?
There are basic art concepts that need to be understood and utilized that will help us Create more effective foregrounds. But there are also fun tricks that make foregrounds successful and fun! Foregrounds can truly make or break a landscape painting which is why I will be focusing all month on painting foregrounds over on my Patreon Page. If you have been thinking of joining this is the month to give it a try! Head over to my page to see what you get for the small pledge of $4 a month (cancel at any time)
I will share the basic concepts on Patreon but here is a peek at the trick.....DUSTING! I have blogged about it before and used it quite a bit in the past. It is a fun and easy way to add a little spice to an otherwise boring foreground. It is very easy to do.
1. You need a pastel that you don't mind shaving. I find the middle hard pastel work the best. I used a Mount Vision pastel. If they are too Gard they wont adhere to the paper and if they are too soft they will crumble when you shave them. You also need a shaving too and I use a palette knife.
2. Lay the painting flat. Hold the pastel over the area where you want the dust and pastel bits. You can cover the rest of the painting with paper. Shave the side of the pastel with the palette knife letting the dust fall. Move the pastel around as you shave so you don't end up with a pile of dust in one spot. If I want larger bits I will dig into the pastel to let tiny chunks fall.
3. Press the pieces of pastel into the paper with the flat part of the palette knife. I used to use a rolling pin and a piece of glassine but I find it tends to make a fuzzier painting.
 |
| All you need is a pastel and a palette knife |
 |
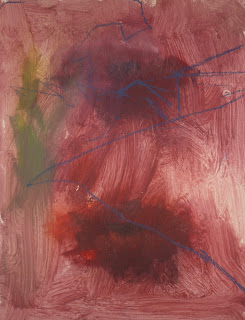
| Today's painting began on a recycled piece of Uart paper |
Check out my Patreon Page and consider joining us for a month long focus on FOREGROUNDS!

1 comment:
You must have been reading my mind, Karen. Just yesterday, I was wondering how this was done so the pastels bits stayed.
And here you post this today!!
Exactly what I needed to read and see.
Thank you very much Karen.
A beautiful painting too.
:)Sandy
Post a Comment